Create workspace
Create workspace
If you did the CloudFormation workshop, you can use the Cloud9 workspace created in that lab and skip the *first 6 steps * of this section.
If not, you can continue with the following steps.
-
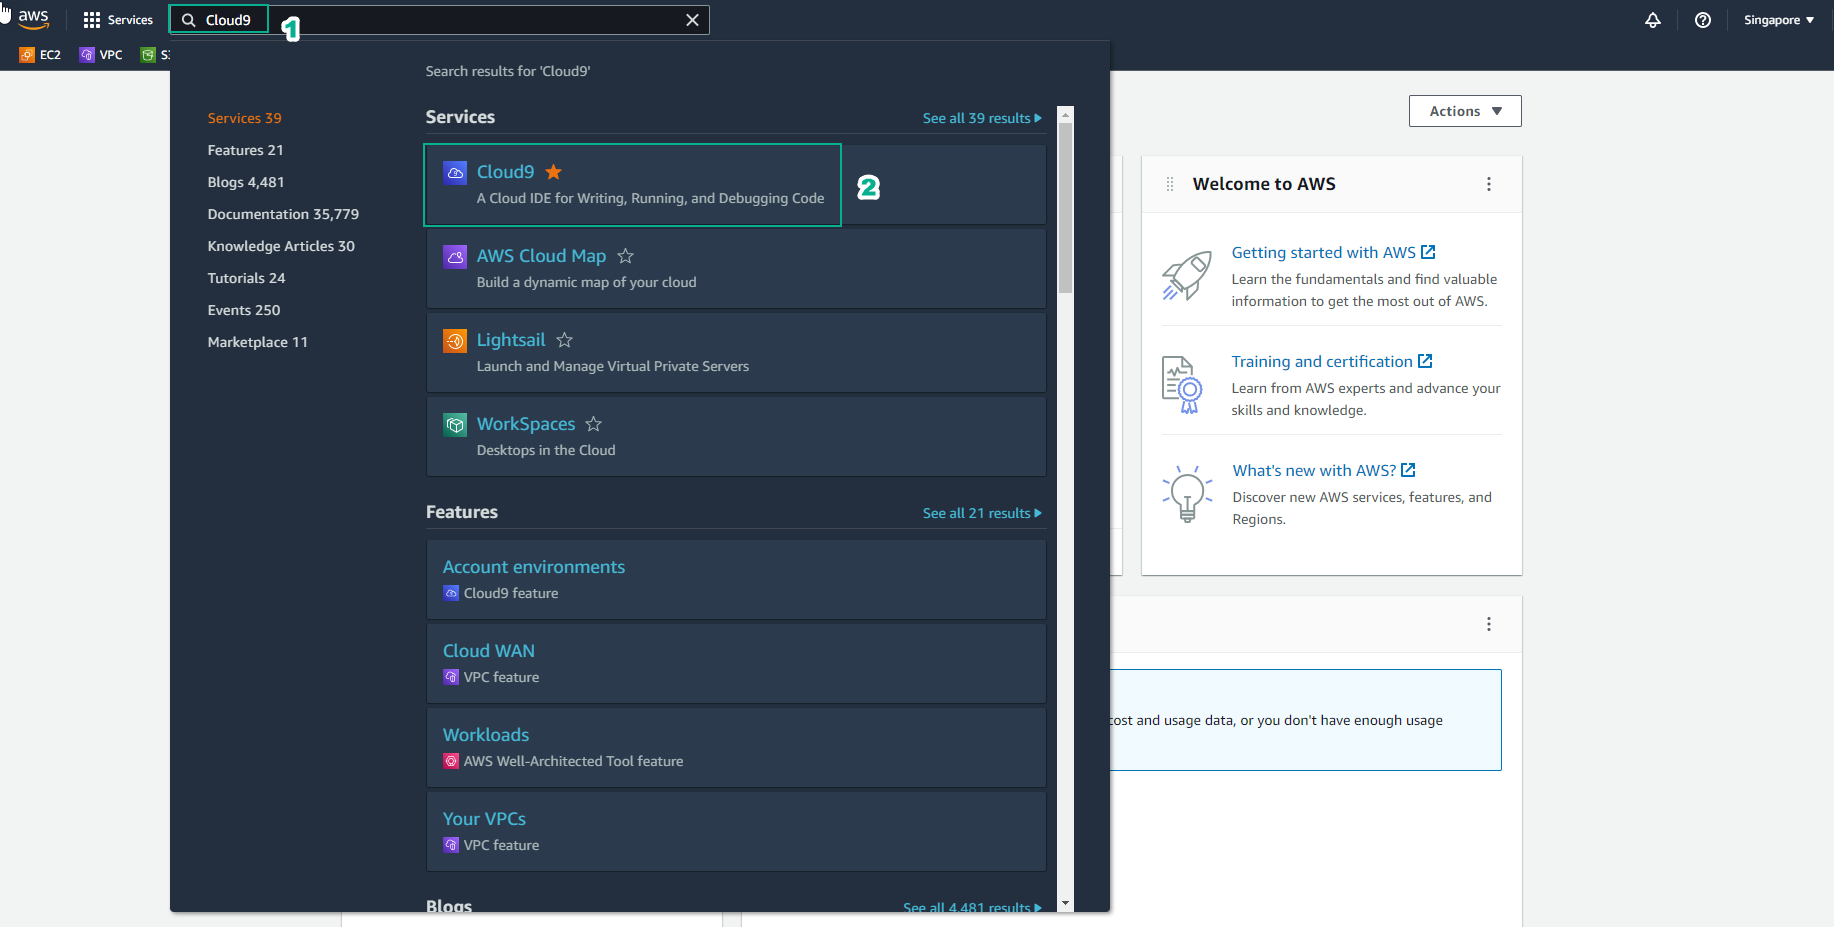
Access the [AWS Management Console] interface(https://aws.amazon.com/console/)
- Find Cloud9
- Select Cloud9
-
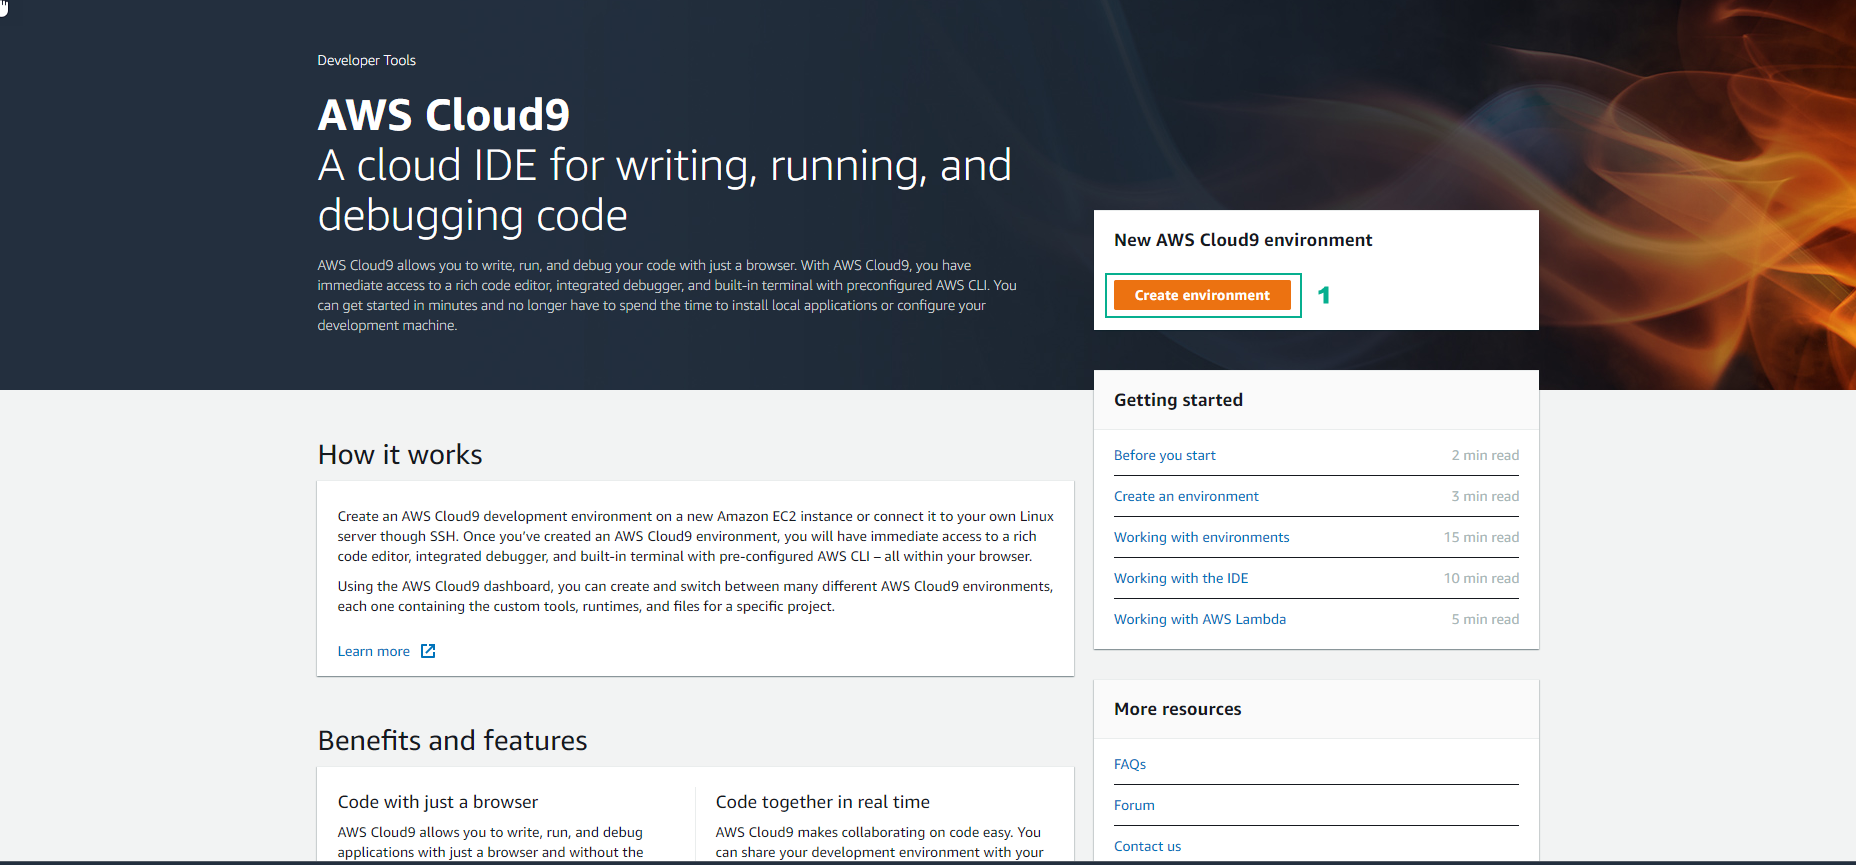
In the AWS Cloud9 interface
- Select Create environment
-
In the Create environment interface
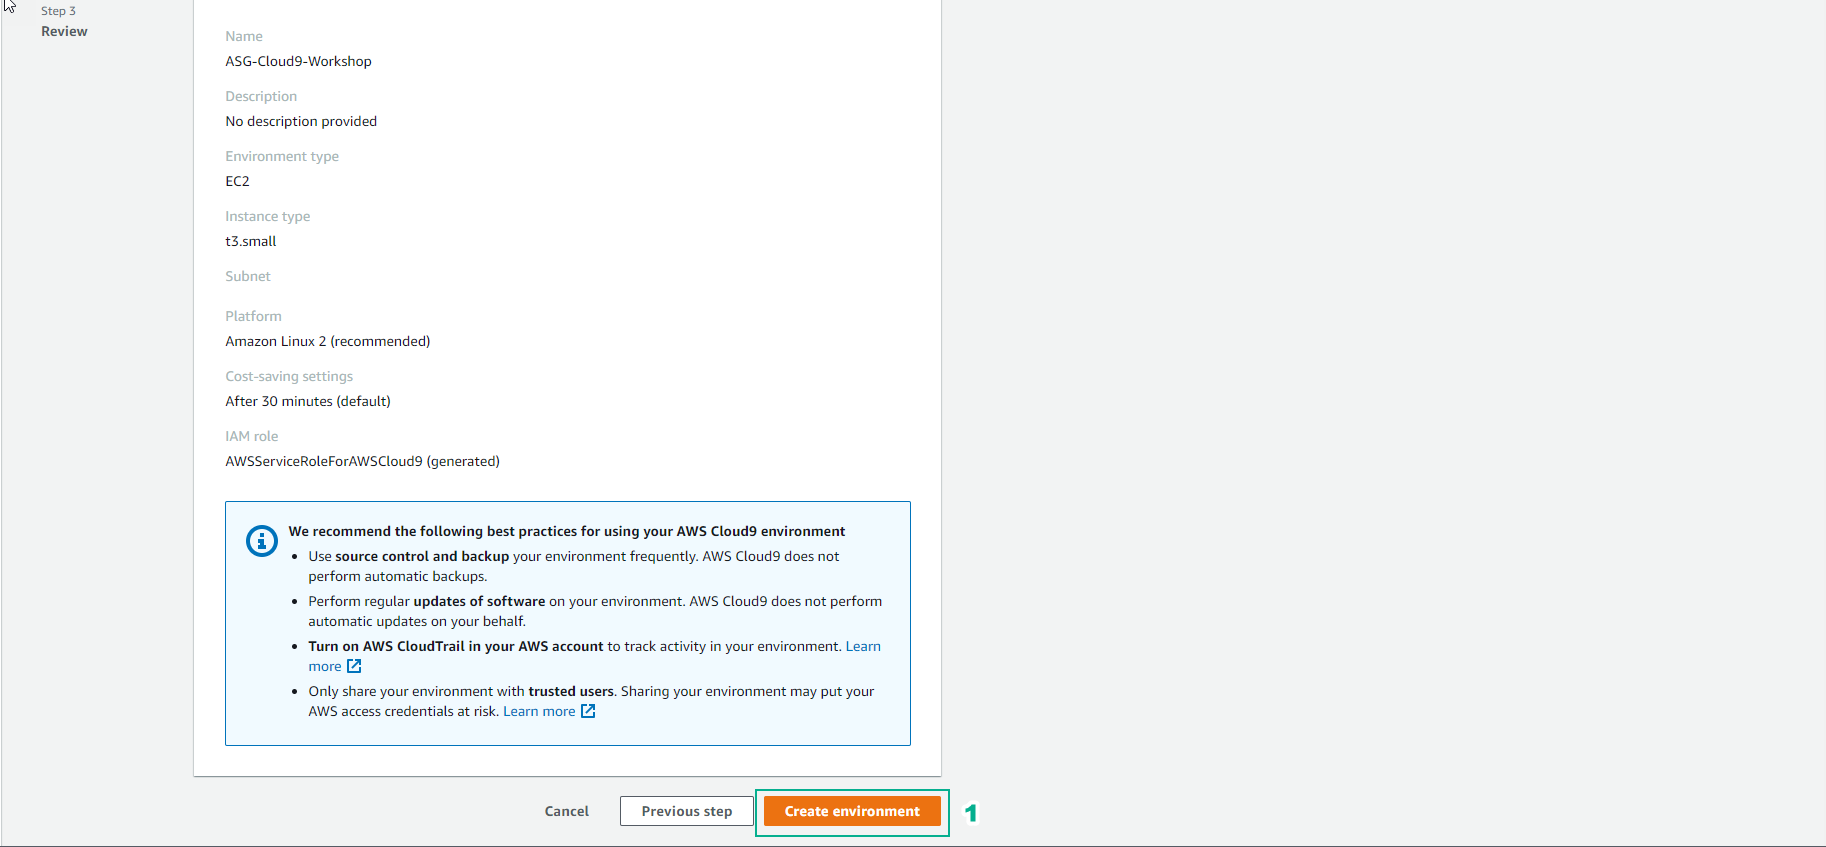
- Name, enter
ASG-Cloud9-Workshop - Select Next step
- Name, enter

-
In the Configure settings section
- Create a new EC2 instance for the environment (direct access): EC2 Instance is initialized with the Cloud9 environment. The instance is accessed via Cloud9 IDE using the SSH method.
- Create a new no-ingress EC2 instance for the environment (access via Systems Manager): EC2 Instance is also initialized with Cloud9 environment and Instance can be accessed via System Manager.
- Create and run in a remote server (SSH connection): EC2 Instance already available, Cloud9 environment setup environment to be eligible to access EC2 Instance.
- Within the scope of today’s CDK service introduction, to keep it simple and focus on the main content we will choose the second option best - EC2 and Cloud9 are initialized at the same time and can access Instance over SSH.
- The remaining configuration content we leave as default with:
- Cost-saving setting: after 30 minutes if EC2 Instance has no processes running, Cloud9 will stop Instance.
- IAM Role: AWSServiceRoleForAWSCloud9 - is a service-linked role made available by AwS and tied to the Cloud9 service
- Environment type, select Create a new EC2 instance for the environment (direct access)
- Instance type, select t3.small(2GiB RAM + 2vCPU)
- Platform, select Amazon Linux 2 (recommended)
- Leave the Network option as default (default VPC)
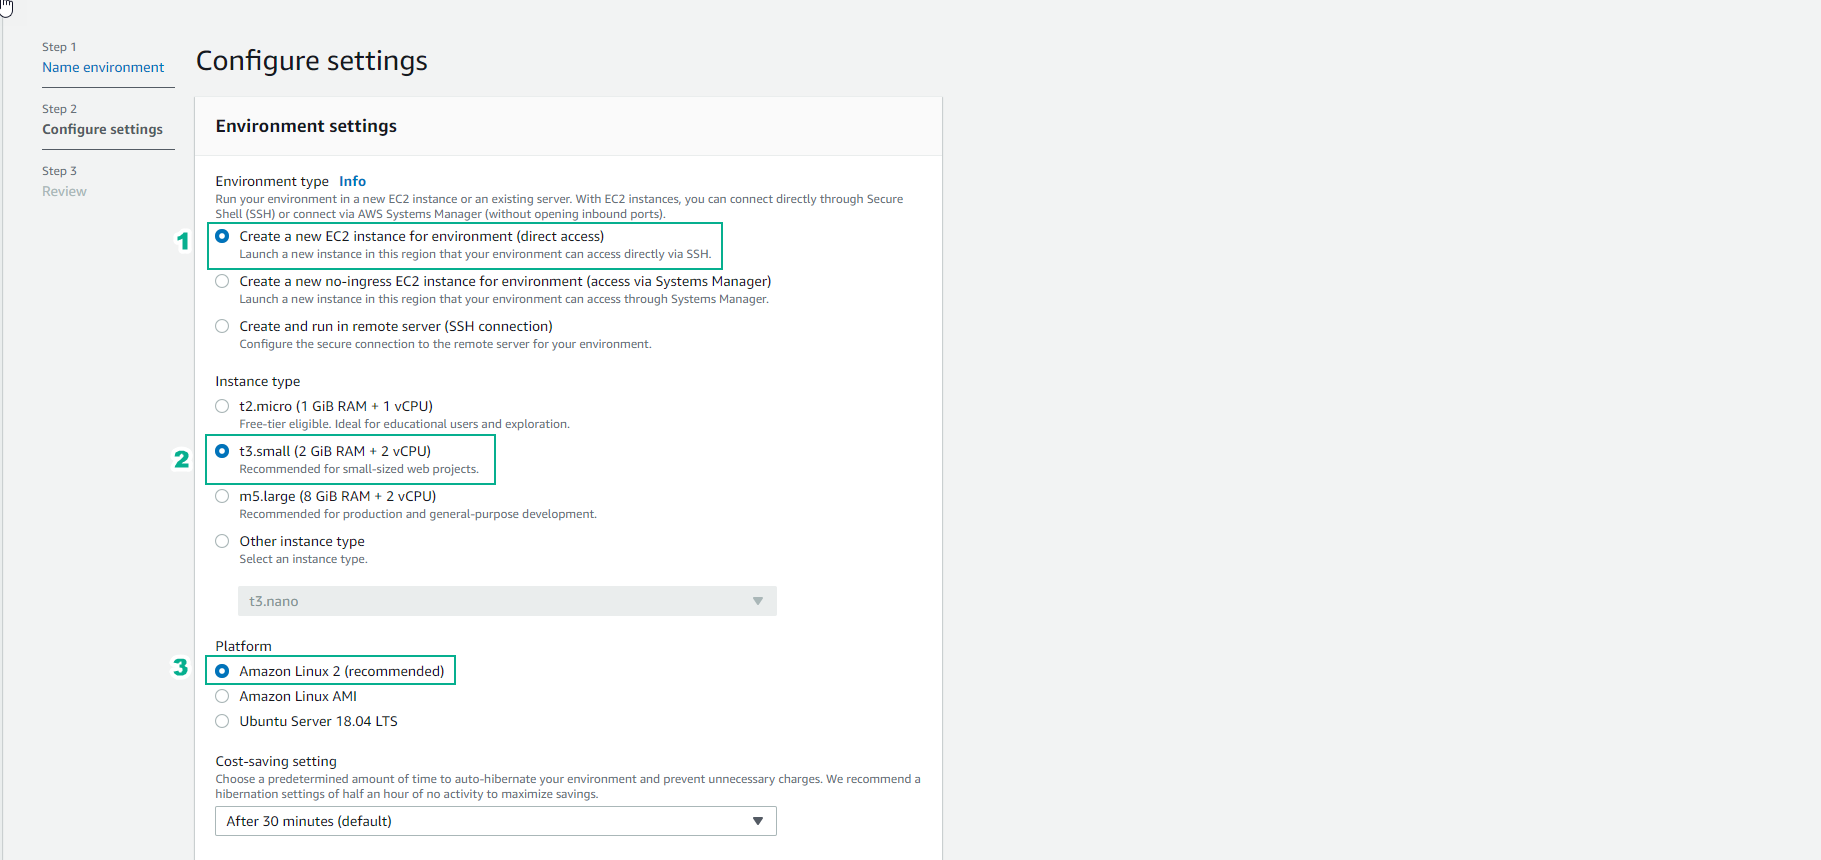
- Select Next step

- Select Create environment
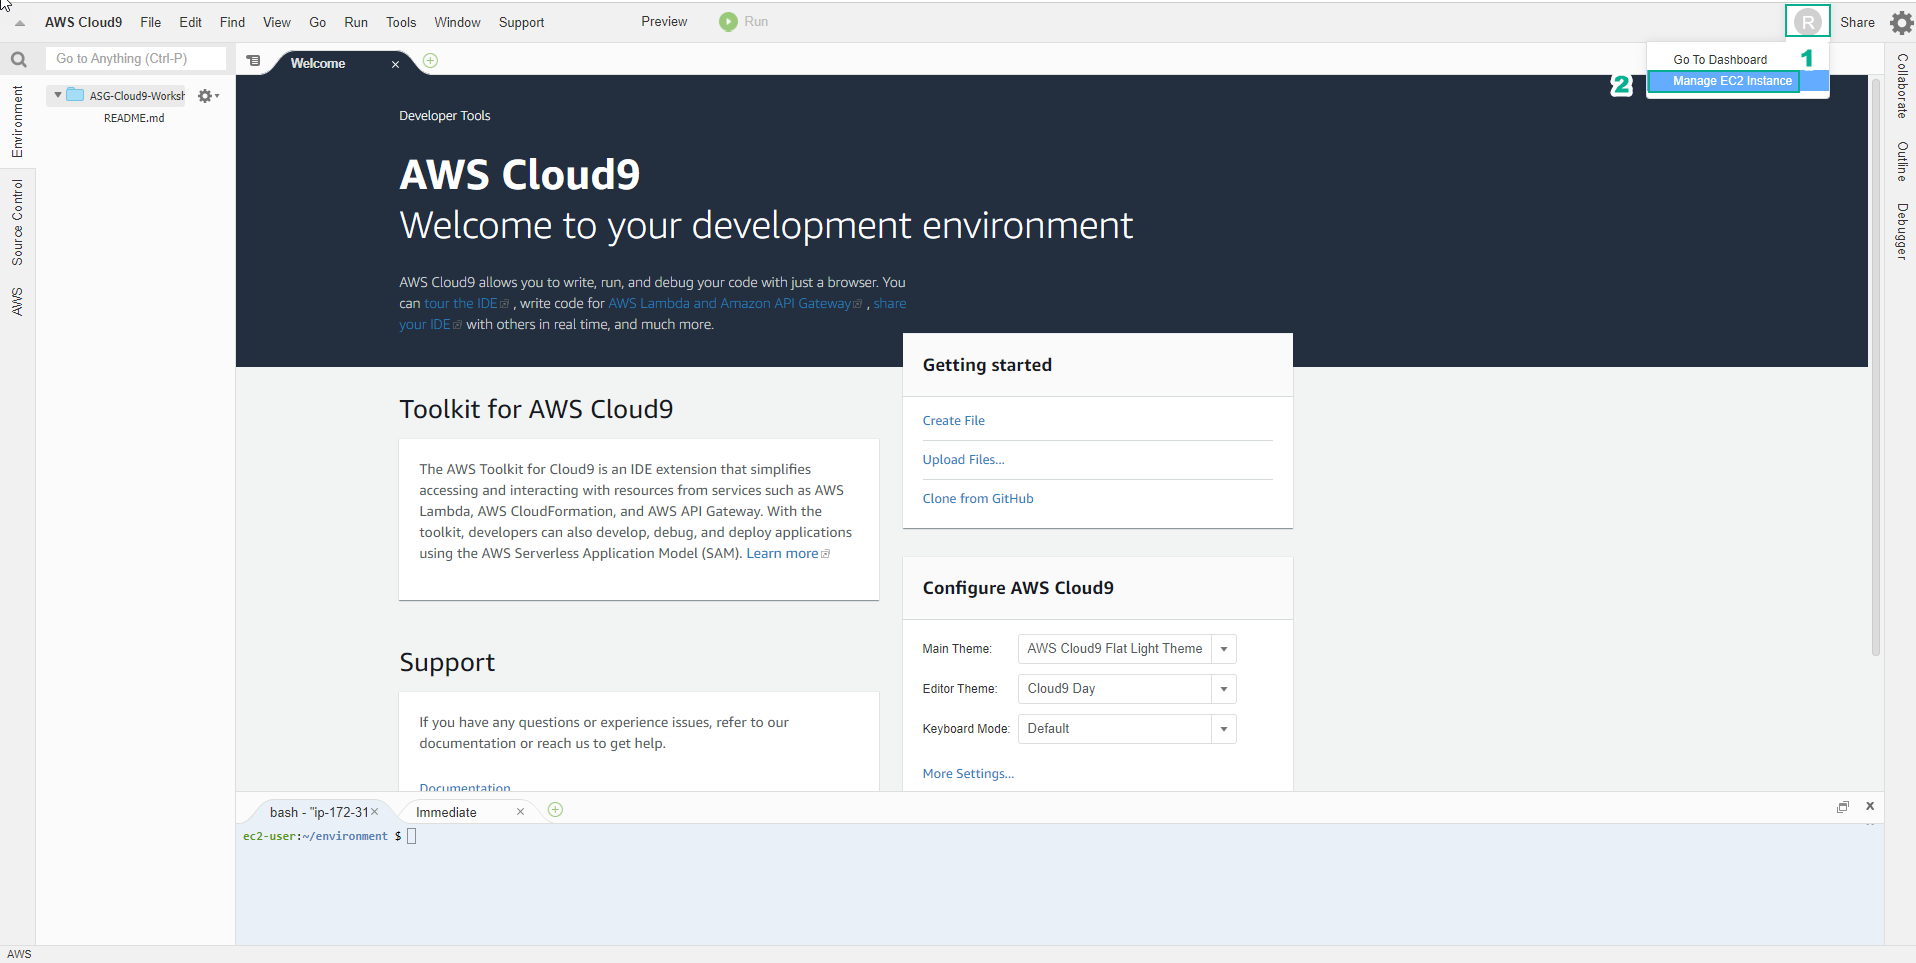
- Environment interface just initialized